Windows
You need administrator rights for the VPN client configuration.
OpenVPN Community for Windows is available at the project site. Download and install it.
Download the configuration file required for authorization from the WMI panel.
After OpenVPN Community has been installed double-click on the downloaded authorization file vpn-users.ovpn and confirm that you want to import it. A system message will be displayed on successful import.
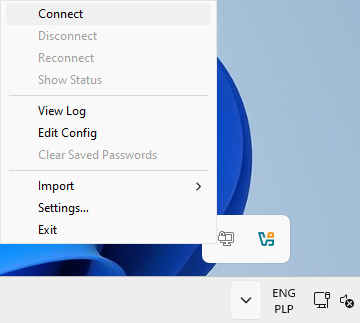
Start OpenVPN GUI if it wasn't automatically started. The program icon will appear in the system tray, next to the clock.
The program icon in the system tray may be hidden.
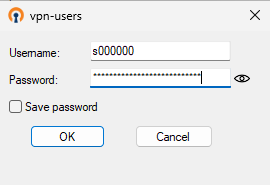
To connect to the Faculty, right-click on the program icon, press Connect and provide your credentials (use your login and password from the LABS domain - the same which you use to log in computer laboratories):
If connection was succesfuly estabilished, a pop-up with the assigned IP should appear: